Whew! This has been a horrible winter. Yes, I know, tell you guys something you don’t already know. It has kept me from hanging out in my craft room and creating because I have been sick for almost all of February and March. It stinks! I was feeling a little better and my voice had returned, so I thought I would whip up a few cards.
I loved this card pattern from the moment I saw it in the My Scrap Chick newsletter about a month ago. I just couldn’t figure out what color scheme. I do like the grey that’s pictured, but couldn’t decide which color I was going to do. Why not make this quick and easy chevron Hi card in a few colors then. Amiright?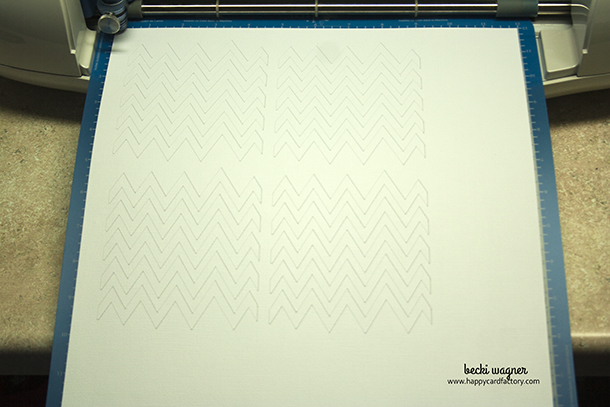
But I still wasn’t feeling too hot and didn’t have the strength to stay out of bed for long. What I had in mind, the amount of colored papers I had to pick out would take forever. And let’s face it, I sometimes like to take the easiest way in my card making. All four took me a little over a half an hour to cut, color, and assemble. Here is a little tutorial on how I managed in that short amount of time.
I created all four with only three pieces of 12×12 white paper and a scrap of shiny black. Yes I am bragging. That’s a feat for me when I use my die cutter. Way better than all the scraps I would have made cutting one chevron out of a different color to achieve the cute gradient look this pattern is supposed to have. The first piece of paper I used to cut the chevrons and a set of base layers for the sentiment banners.
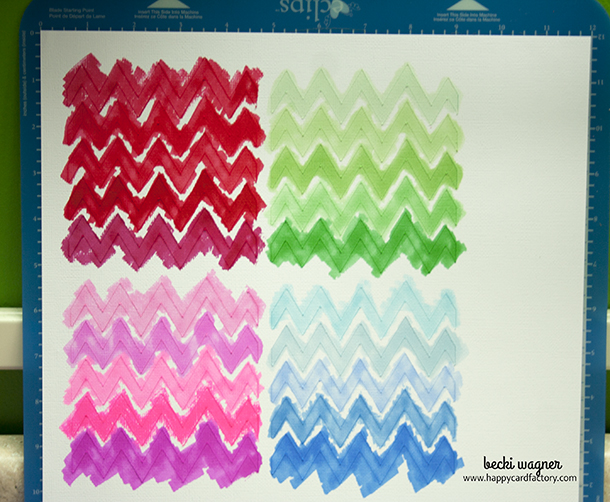
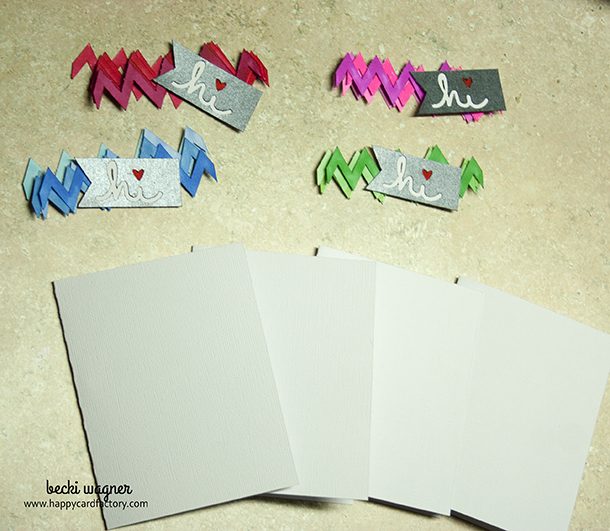
Once I had the chevrons cut, I grabbed four different color sets of my Spectrum Noirs. I quickly colored the cuts, no caring if I got them completely or not. That gave them a slight watercolor effect. It is more pronounced on the blue. The texture of the American Crafts paper contributed to this, I think. Not much of a gradient effect with the red I’m sad to say. I probably should have chosen that color group a little more carefully, but I was just happy to be vertical and crafting again.
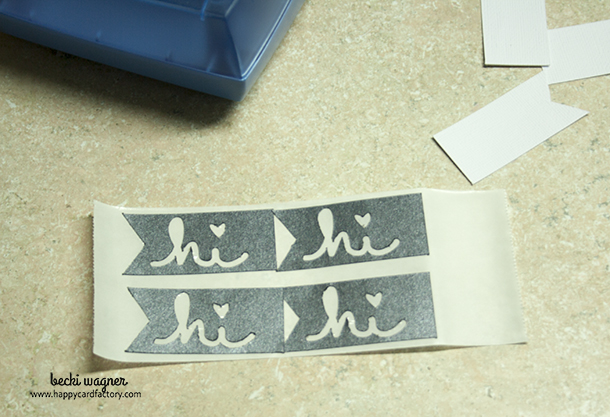
I shaved a bunch of time off with the “hi” cut by layering all three together and making them one cut. Then gluing them to the white base banners I made with the scrap paper from the chevron cut. Then I just colored in the heart red and made a mark in the “h” to give it the loop.
For the last two pieces of white, I cut the four card bases out. I am ready to assemble! To make the placement of the chevrons super quick, I ran them through my Xyron 2.5 in Sticker Maker. It can fit three chevron at a time. Peel and stick, then pop up the sentiment. Four adorable cards on the easy peasy!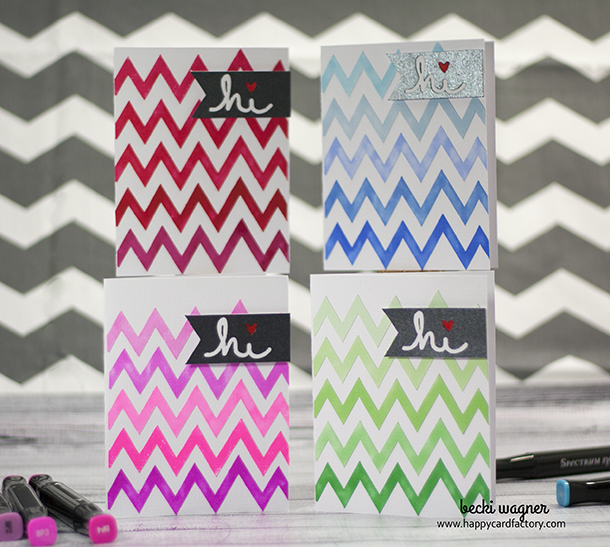
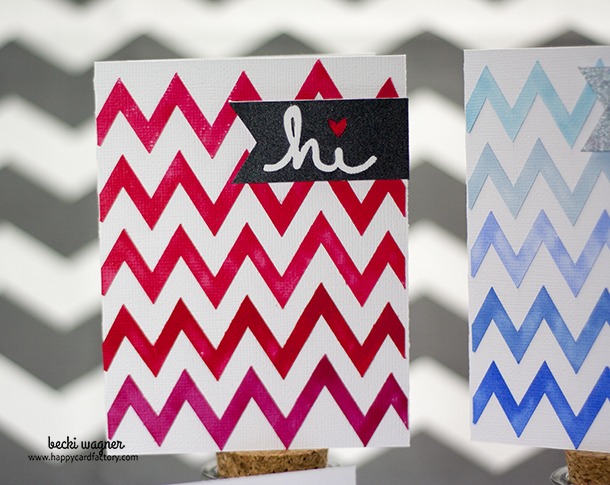
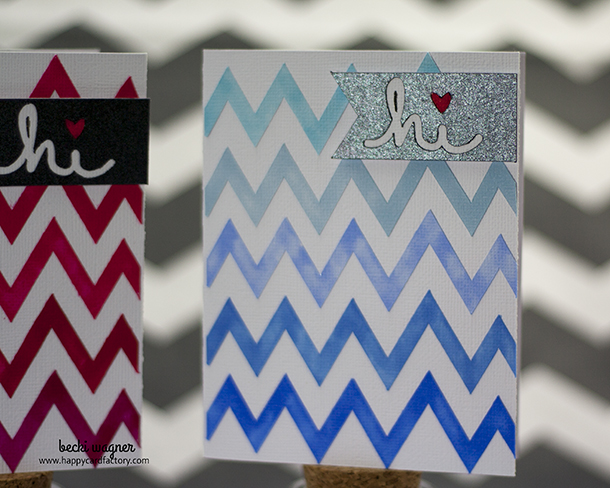
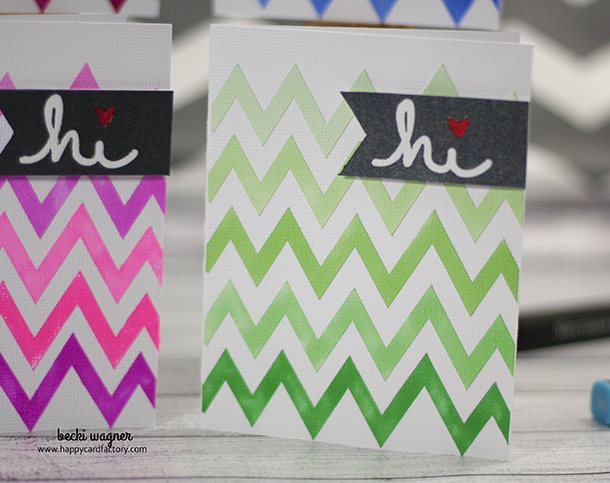 I love that I didn’t have to mess with lots of different cuts and paper and still came out with four cards I know my friends will love. In this day and age, our time is precious. So I am always on the lookout for a quick way to make something that will bring a smile to someone’s face. Because I know if it’s easy, I am more apt to push myself to create. That makes me sound bad, but it’s the truth. 🙂 I’m just glad I can use someone’s creativity and purchase files like this. Otherwise, I would be in no crafty-craft land if it was up to me. Ha!
Supplies used: Hi card by My Scrap Chick; Spectrum Noir markers; Xyron 2.5 in Sticker Maker; American Crafts cardstock in white
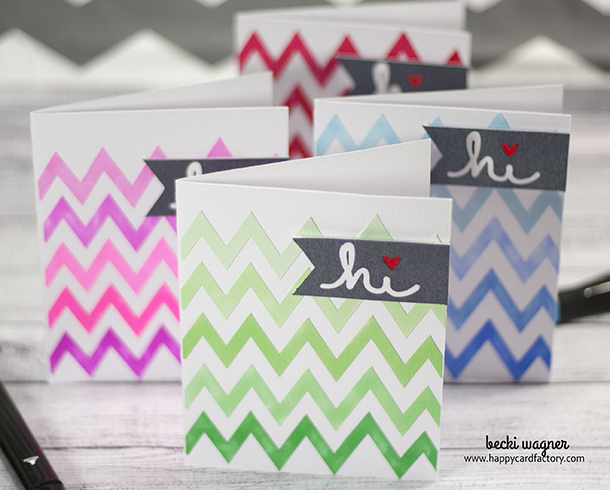

These are lovely! Great idea to use the Spectrum Noir markers for the gradient effect. Thanks for the inspiration!
You’re welcome, Kelly. Thanks for stopping by!
This is so cool! I am thinking to do with watercolor papers 😀 THANKS FOR THE INSPIRATION!! oh… have to pin it! LOL!
Thanks, Helen! Glad you stopped by. 🙂