..is where I wish this card would go. I think my creativity has left the building. At least I am not the only one. Some of my crafty friends and I were having a conversation last night about where all our craft mojos went. Maybe Belinda took it when she came and picked up Christian this past weekend. I don’t know. She seems to be the only one who has any lately.
Lettering Delights was trying to help me find some mojo when they released their Cut It Tiles. Some fabu products if you ask me, which you didn’t but hear me out anyway. Cut It Tiles are a small graphic image that you use to fill a vector image such as a SVG in Make the Cut. There are already some great tutorials out there on how to use these so I won’t waste my time trying to explain it in my nonsensical way. I will just give you the link and let you go crazy learning this great new tool to add to your crafting arsenal.
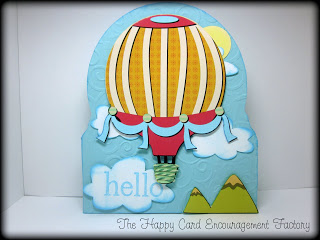
So, Lettering Delights wanted to see what we could create with their new product and this is what I came up with. It’s not that I think it is ugly, it’s just that this stupid thing gave me such a hard time. It all started with my Silhouette SD acting totally like a teenager and refusing to do what it’s told and then went downhill from there. I am now wishing maybe I had the Big Shot
. I love my Sizzix Texture Boutique
and never had a complaint till today when this big card wouldn’t fit so I could make the wind swirly thingys for the background. Sad, sad.
This actually was my first Print and Cut card. It was pretty easy and cut really close. I had barely any white showing around the edges. A big thanks to Lettering Delights for getting me off my rump and finally taking the plunge. It’s those cool Cut It Tiles, I tell ya. Print and Cut makes for a pretty quick card under normal circumstances (normal is not a word used at our house).
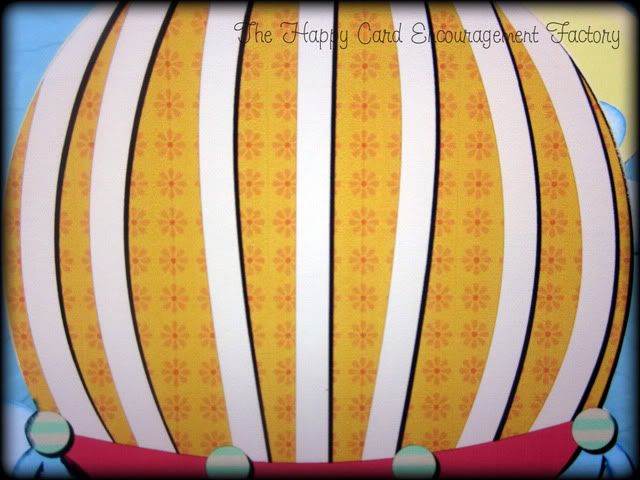
I also finally got to use a set I have had and loved for a long time but never had any ideas for it: Balloon Craze. The hot air balloon and mountains were created with the tiles and made into a Print and Cut (see video link above). The clouds and sun are from the same set and just cut into white cardstock with a dollar bin stamp from Michaels. Then I tried desperately to emboss the base with D’vine Swirls by Cuttlebug with the Texture Boutique
.
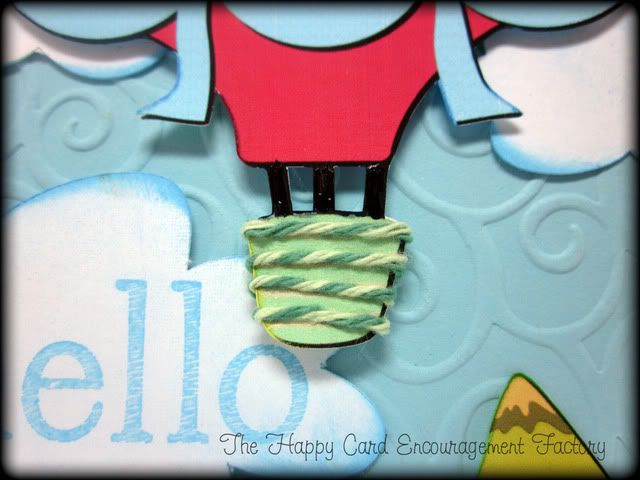
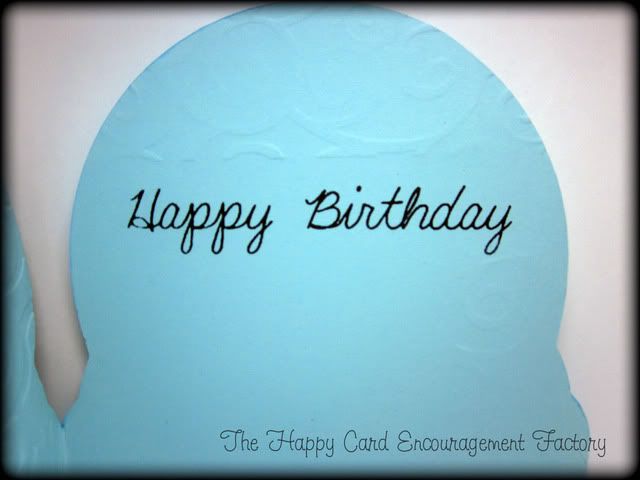
As always, I try to spice my project up with a little sumthin, sumthin. And its twine from Trendy Twine in the Twisted Lime flavor wrapped around the basket. Yummy! The inside sentiment was made by me if you can believe it. I used a stamp I made from the Teresa Collins Stampmaker. Most of the stamps I made were pretty big for those occasions where small just isn’t going to cut it.
I think that is it on this one. Hope you enjoyed your stay and if anyone has seen my mojo please leave it in the comments section on your way out. Thank you and come again! ^__^


Is this your doodie card? I think it’s awesome!! I love your doddie card!
Your kidding that this is your ugly card, right? It’s super cute! The colors are awesome and the embossing is really cool!
Yes, this is my doodie card. Thanks for the kind compliments ladies. I’m just in a hater mood lately. LOL
No way, this card is not a doodie card…unless doodie is code for Awesome cuteness!!! I just want to float into the clouds in this hot air balloon!
LOVE love love this! I love print and cut
Thanks ladies!
fyi
Christian told me he prefers your cooking…and your balloon card:)
Ooooo, now that’s a real compliment!! ^__^ Thank you!
Super cute! Thanks for joining us at Paper Issues!
Awww, that is so cute. I love how you used the twine on the basket.
Lesley @ Trendy Twine