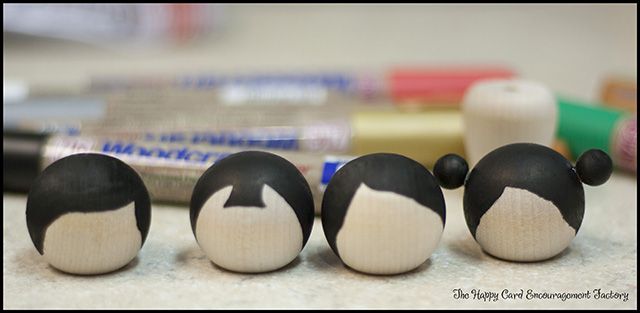
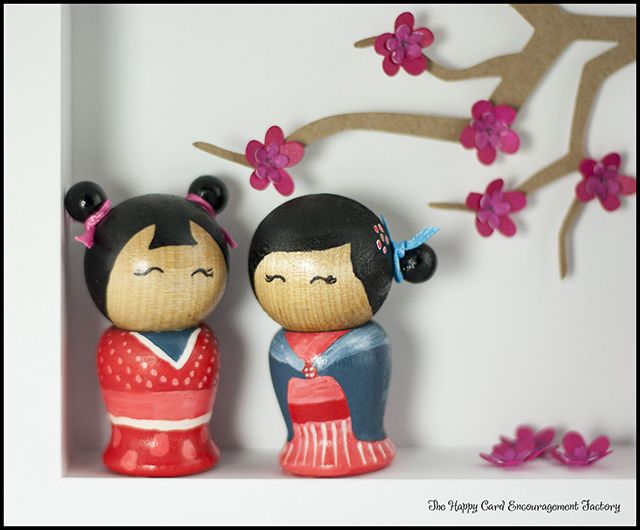
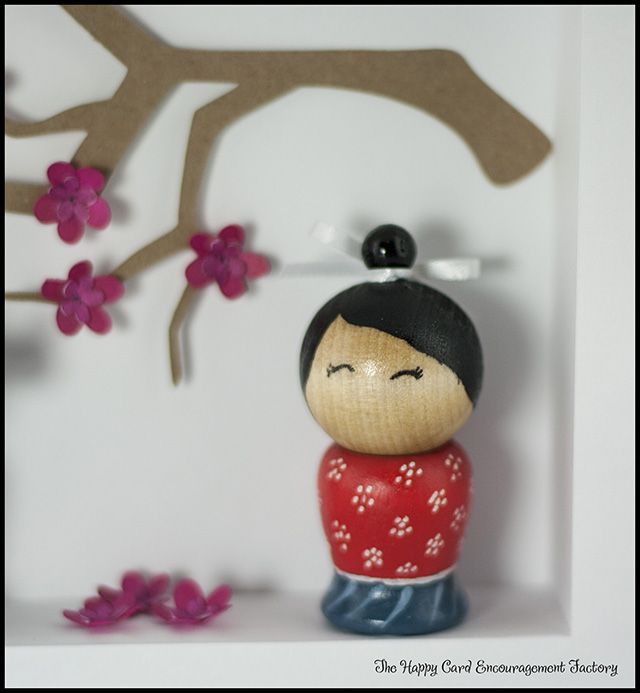
I love Japan and it’s culture. My Aunt and Uncle have lived there as missionaries for the past 18 years, I have not yet been able to visit them. They bring me lots of goodies when they come visit, but I would still love to see it for myself. So when Kuretake said our next theme was Japanese, I was so excited. I just had to come up with an great idea. While searching, I started to see those Kokeshi dolls floating around the internet. Hmm, I have quite a few of the Woodcraft markers. I’m sure I could whip a few of these little beauties and find a way to showcase them.I got the idea for the little dolls from Restless Risa’s Japanese Themed Birthday party. These were perfect for my shadow box. I started with the easiest part – the head. I put the head on the end of a pencil and colored different hairstyles with my black Woodcraft marker. Here is a close-up. It was easier to color the buns before attaching them with glue.
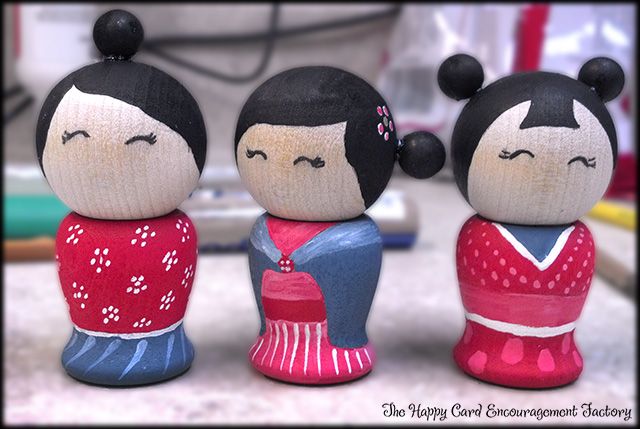
The next step was to color their kimonos. I looked at a few pictures online and just painted in some simple designs. I didn’t have a pink or light blue marker on hand. I found a simple solution. In order to get the paint flowing through the tip you have to pump it on paper a few times. If you do it too much, it will leak out. Which, under normal circumstances, is to be avoided. It worked to my advantage here. I pumped the red and white markers out in little pools onto a piece of scrap paper. I mixed them together till I liked the pink, then using the red marker picked up the color. Don’t worry about ruining your marker. It can be rubbed across paper till it returns to its normal color. It does not absorb far back into the marker. Although, you will use up your marker quicker this way. I would recommend using the darker marker to pick up the color when using this method. You could use the lighter but it seemed to take more rubbing to get all the other color off.
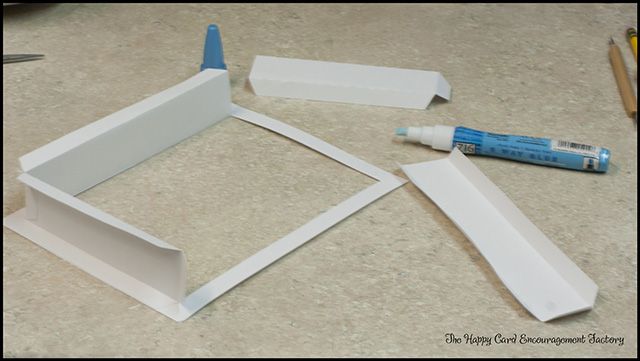
When I was done designing their clothes, they needed a sealer shower. I liked them on the shiner side, so I used the gloss spray. A little ribbon and I could move on to the hanging shadow box. It was a file I cut in my electronic cutting machine. I used my ZIG 2-Way to glue the box together. Worked up really fast.
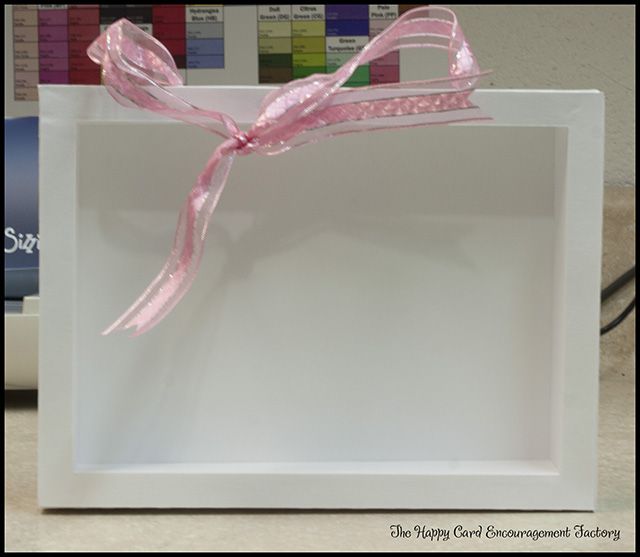
Here it is completed and waiting for my little cuties to go inside.
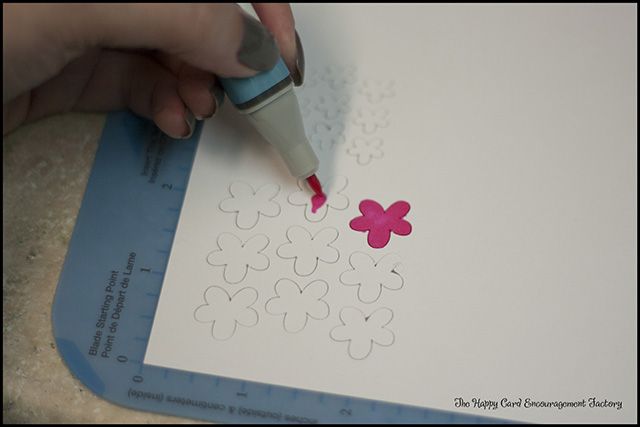
I thought the dolls needed a little scenery. I kept it simple because I wanted the focus to be on the girls. I cut the blossoms out of white card stock and used my Kurecolor Twin in Dark Pink for the larger petals and ZIG Memory System Scroll & Brush in Pure Pink for the small ones. I glued the smaller to the larger and added them to the branches with a few that looked like they fell.
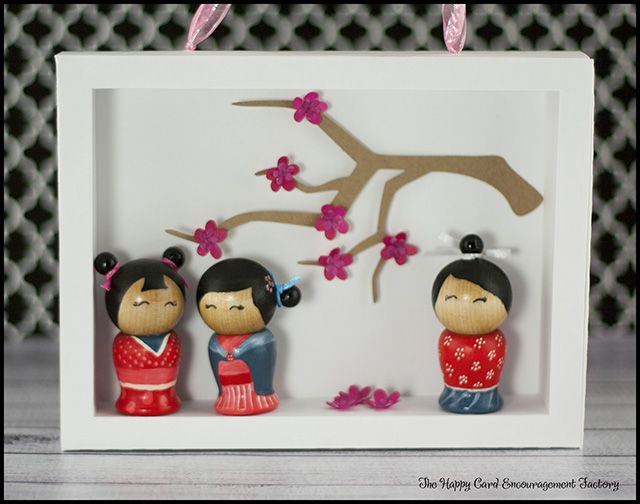
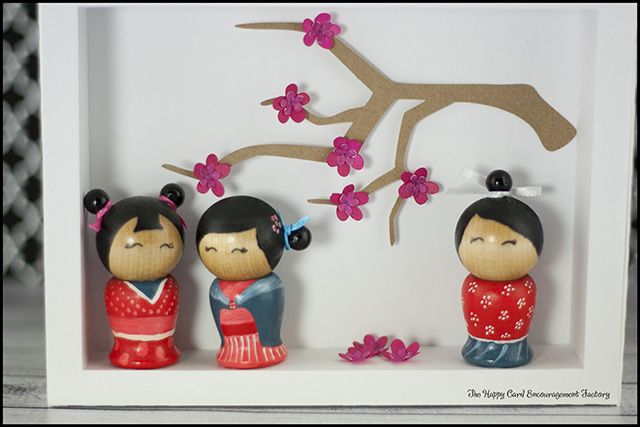
When the individual pieces were done, I was ready to assemble them into their forever home. The one girl is leaning a little. That is my fault. I wanted to twist her a little to the front and damaged the paper a bit. I am just going to pretend she is whispering into her friend’s ear.
I am soo going to hang this in my Asian themed bedroom. It will go perfect. Guess I should get that kimono out that I bought a few years ago and hang it in my room too.
Hope you liked my project today. I had sooo much fun making it. I have been inspired to make a few more of these as they were so simple to put together. Thanks for stopping by and happy crafting!
Supplies:
ZIG Kurecolor Twin in Dark Pink
ZIG Memory System Scroll & Brush in Pure Pink
ZIG Woodcraft Marker Chisel in Crimson, Periwinkle Blue, Arctic White, & Black
ZIG Memory System 2-Way Glue
5×7 shadow box frame by Lori WhitlockKokeshi Dolls – head: Ball Knobs 1 1/4″ with 3/16 hole, buns: 3/8″ round balls, body: 1 1/4″ 5/8″ hole candle cups
E6000 Craft Glue
ribbon

WOW!!! This is gorgeous!!!!!
These are adorable. Love all the details and flowers.
Wow, you are so clever Becki, this is a beautiful project.
So adorable!! Love all the detail 🙂
Such cute dolls and the box looks amazing.