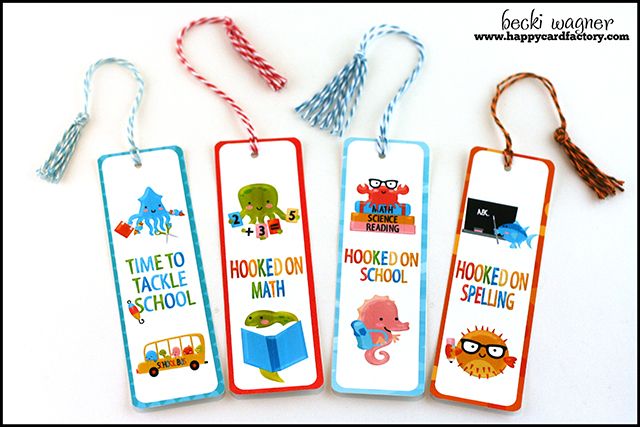
Since the kids will be going back to school soon, I wanted to show the bookmarks I made for the premier issue of CuttingEdge Magazine that was released in September of 2012. It was a thrill to start the first bi-monthly online magazine dedicated to electronic cutting machines with two friends. Then to be able to work with an incredible creative team who helped bring the magazine to life, it was a dream come true. Sadly, life determined I wouldn’t have the time to continue working on it and I had to leave that December (which seems like a short time, but we had been setting up the mag since November of 2011!). I do occasionally show up as a guest designer when time permits, but I am no longer involved in the day to day running. Thank goodness because I don’t know how Michelle keeps everything going. It’s a LOT of work. 🙂
I will be posting my projects from that issue over the next couple of weeks. It was a Back to School special with a little Halloween thrown in, so it definitely is the perfect time to show everyone my projects. I kept it in it’s format from that issue. We did change it up after this went live to give it a little more pizzazz, but we were just learning. It does take a while to get the hang of things when you have never done something like that in your life. I had also just gotten my Silhouette Cameo and wanted to showcase it’s superior Print N’ Cut ability. These were the easiest project I think I had ever created.
Supplies:
Paper: Georgia Pacific 110lb white cardstock; Graphic sets: School of Fish by Lettering Delights, Something Fishy paper pack by Lettering Delights; Trendy Twine in Berry, Blue Berry, Sky and Orange Licorice; Tools: Silhouette Cameo , Silhouette Studio Designer Edition software.
In Silhouette Studio, make rectangle on virtual mat 5.5″x1.75″, add desired digital paper to rectangle. Add another rectangle sized 5.315″x1.53″ and place on top of larger rectangle. Place a small circle about a quarter of an inch near top for twine. Add graphics to top rectangle and arrange in a pleasing way. Print out along with registration marks on cardstock, place printed page on mat and feed into machine. Cut out using the Print n’ Cut method. Add twine for pull string, make tassel if you like.
I know I posted a picture on Facebook of the bookcase I am rehabbing for my craft room move. I also made mention of a couple of cool projects I have been doing in my kitchen. Don’t worry, I haven’t forgotten about them. I just have not finished putting my craft room back together. That’s the only good thing about the eldest child moving out, you get his room. 😉 I think I will enjoy not fighting the house centipedes for space in the basement.


I love these Becki 🙂 so cute and easy to make!
I miss your projects on the magazine and your creativity! Love these book marks, you make it look so easy Becki. I should make some of these for the kids I will be working with in September….better start now as I will have to make 90!