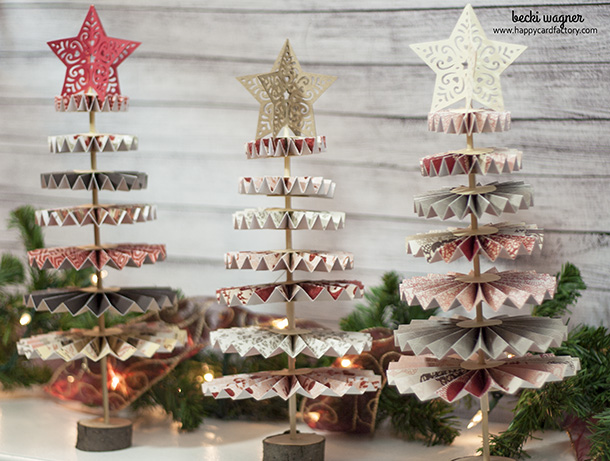
Wow, it’s amazing what you find hidden when you are transferring files to a new computer. I had totally forgot to post my Rosette Christmas trees from 2 years ago. Yes, that’s right. I made these for our Ladies Christmas banquet in 2013. Man, I get more forgetful the older I get.
The rosette trees are pretty straight forward. My husband sliced wood discs from a branch, then drilled a hole about a quarter of an inch deep in the top for the skewers to sit in. I added a bit of hot glue in the hole before putting the skewer sticks in. To make the rosettes attach to the sticks, you want to make them a little different than normal. Instead of just gluing them to a paper disc, you want to punch a hole in the middle the size of your stick. If it’s slightly smaller, that’s fine. Just don’t make it bigger or the disc will slide down the stick. Also, make sure when attaching the rosette, it doesn’t cover the hole. Get it gathered as close together as you can without meeting in the middle like you normally would make a rosette.
As you can probably see, you will need a few sizes of rosettes. For the life of me I cannot remember what size I made my strips. Going out on a limb and saying that the biggest had to be 12″ or less due to paper and cutting mat size. For the star, it was a Cricut cartridge. Again, I don’t remember which one as a friend cut them for me because I don’t have that machine. I do know that there were four die cuts folded and glued together. The fancy star really adds to bring the rosette Christmas trees to the next level.
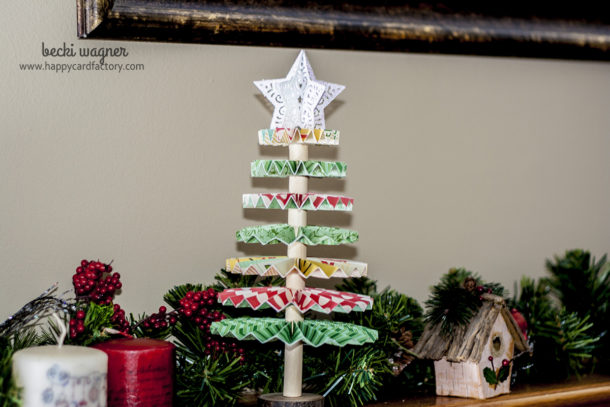
Once again, the ladies were asking if they could take the decorations home. That always makes working so hard every year worth it. I decided to try to construct the rosette Christmas tree with a wooden dowel that was much thicker than the skewers. I think it looks OK, but it was definitely easier using the paper discs. Hopefully, I can get some Christmas crafting in this year. Time is running out.


Leave a Reply