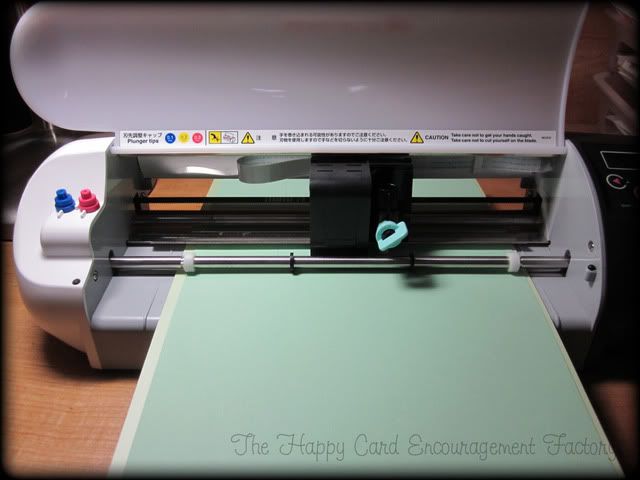
I love making home decor items. I think more than cards sometimes. I know this is The Happy Card Encouragement Factory and I love to give people cards to be an encouragement. But sometimes I think a cute little gift they can display in their home that is also useful is very encouraging too! I had seen, on Mod Podge Rocks some time ago, a lady who made some coasters using Mod Podge. I filed it away for a rainy day when I wanted to start the project. I went and looked at the page I saved and come to find out that she was also behind the wonderful dollhouse template for the Paper Dolls’ first challenge. It was Patricia from A Little Hut! Go check her out, she is a wonderful designer!I thought I would add a few more pictures this time. Sort of a step by step. OK, I just wanted to show my beautiful “little brother” Silhouette SD in action, still action, but action none the less. This is a nice little machine! Cuts like butter, as you can see from the pictures.
 |
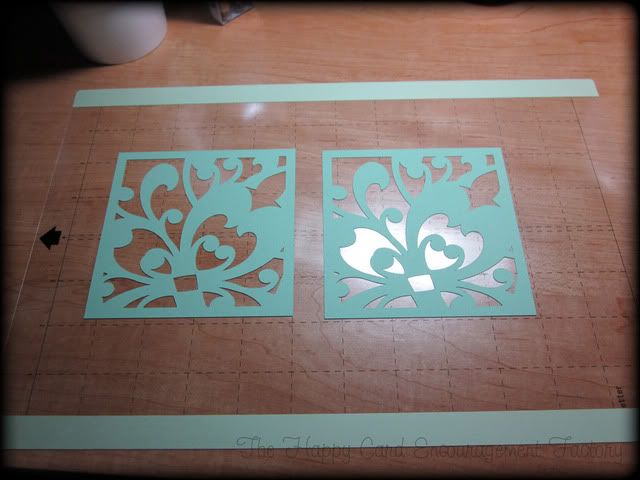 |
I used a file called Artistic Box Ornate from the Silhouette Studio store. If you have a Silhouette and haven’t checked out the designer’s files on there you are missing out. They have the cutest designs, I just can’t pick a few. Silhouette America ran a Facebook special a few weeks ago for the store. If you started a subscription it was 20% off the regular price. The subscription is a really good deal, they put a lot of time and thought into making the store a great place with really nice designs. I have a Boss Kut Gazelle too and the designs available from their store are nowhere near as nice as the ones at Silhouette America.
 |
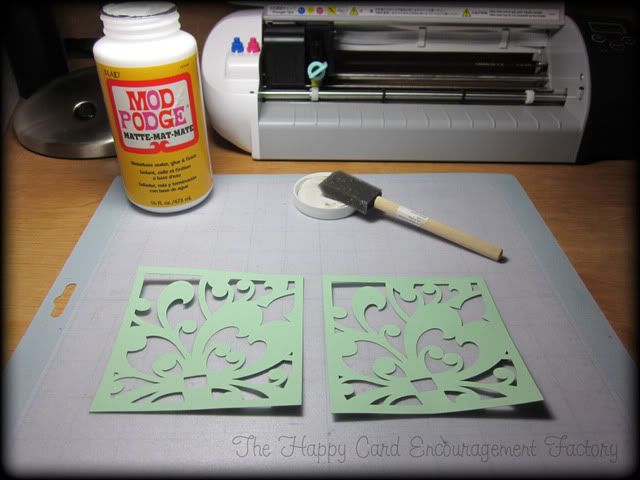
I bought my tiles from Home Depot for .16 a piece and were approximately 4.25 inch square in just plain white. Opening the file in Silhouette Studio to the right size, I then placed my paper on the mat and started cutting. I cut out only two at a time due to their size. The first thing you want to do after taking the design off the mat is put a thin coat of Mod Podge on just the cutout. This helps to stop the bleeding of the paper that occurs onto the tile.
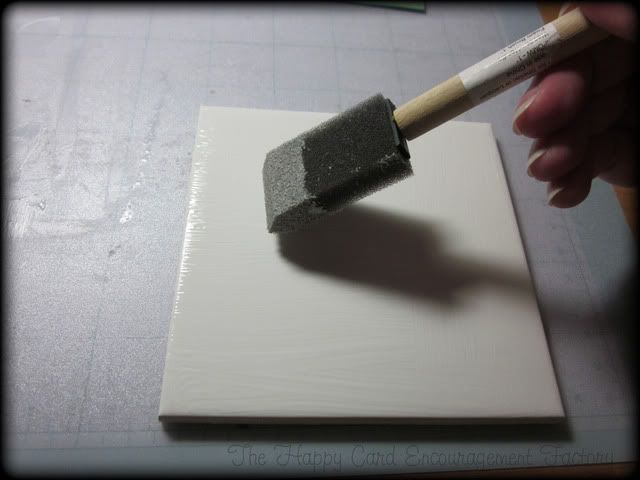
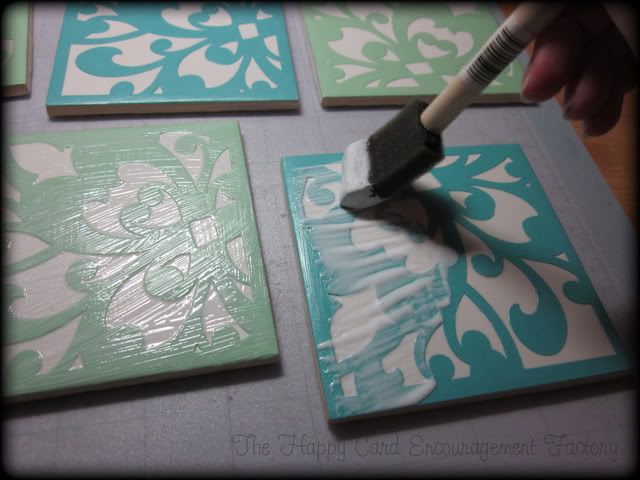
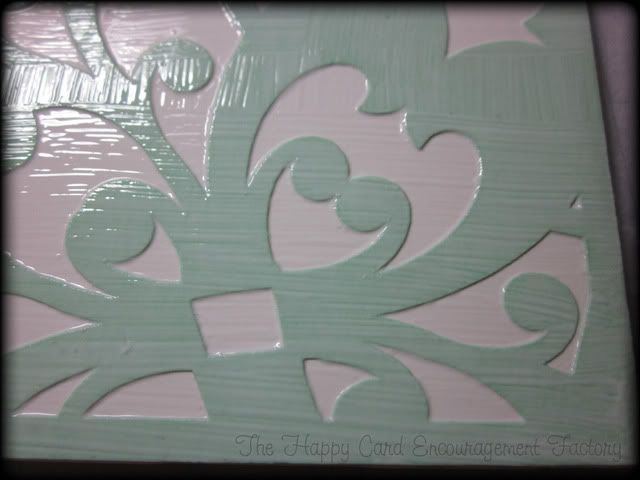
Then just place a thin layer on the tile itself, place and center your image and then another thin layer of Mod Podge. I think it works better with three thin layers as opposed to one or two thick coats. Also doesn’t take as long to dry.
After everything was coated a few times and let to dry overnight, I sprayed a clear acrylic sealer in gloss on them. I would have preferred the sealer in matte, but I had the gloss on hand. If you choose not to seal, the Mod Podge when wet will cloud up and get a little soppy. They will dry out again and go clear, but I wouldn’t want to take the chance and ruin them with repeated use.
Here they are all finished and looking good all tied up with twine from the Twinery. I can see many birthday gifts in my future. My mother-in-law loves this kind of stuff and doesn’t care what the pattern or colors are. She just likes.
I had some after thoughts on this project – what about using green tile with the blue paper or vice-versa. Maybe even black tile with white paper. Maybe even a Print n Cut. The possibilities are endless with this project. Have any other ideas or comments? You know where to put them. I would like to hear what you guys or gals would do with this. Thanks for looking!


Ooooh!! I love those! What a great pattern (and good paper colors)!
Thanks Amy!